

Why a Redesign Needs a Checklist – Real-World Context & Developer Perspective

We just shipped a Next.js overhaul for a mid-size SaaS. Slick design, fresh copy. Two days later traffic was down 30 % and the funnel stopped reporting. The cause? A rushed hand-off.
They moved old pages, swapped the theme, hit "publish" and never ran a single SEO or analytics sanity-check.
Skip the planning and three things break:
- SEO. Canonicals vanish,
robots.txtblocks new assets, internal links hit 404s. - Content. Headings get shuffled, meta descriptions disappear, rich snippets drop.
- Analytics. The old GA4 tag lives on the staging domain, the new data layer isn't wired, attribution is lost for weeks.
That's more than a dip in rankings. It's wasted ad spend, lost leads, a bruised brand. In our audits at Epex Logics the "quick fix" of re-adding a tag or fixing a 404 after launch takes twice as long as a pre-launch audit.
Think of the checklist as a safety net. Picture a three-layer model:
- Technical foundation. Server, HTTPS, redirects.
- Content integrity. Meta data, canonical tags, URL mapping.
- Measurement & QA. Analytics, performance, visual regression.
Each layer catches a different class of bugs. If any layer fails, the whole launch wobbles. Keep that mental model in mind as we walk through the steps.
Architecture & Technical Prerequisites
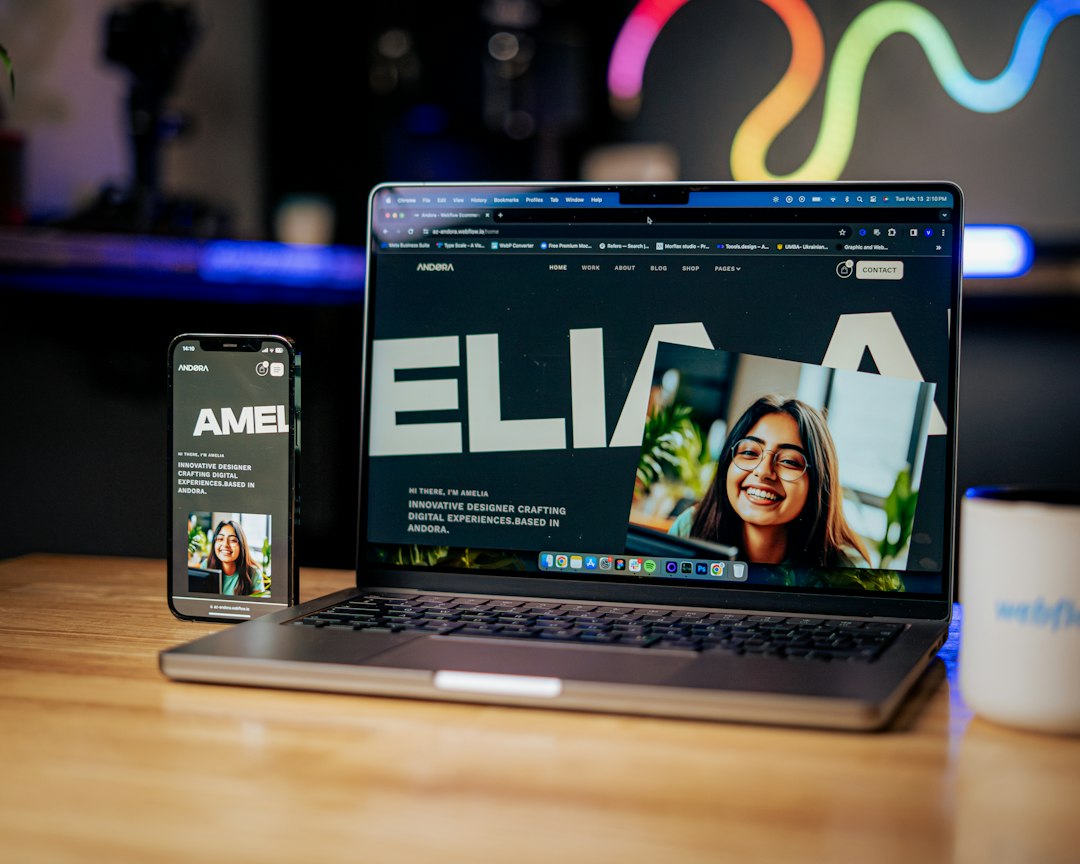
Before you touch a line of code, lock down the environment. I always spin a dedicated staging sub-domain that mirrors production https://www.example.com but lives at https://staging.example.com. This isolates traffic, lets you test redirects, and prevents accidental indexing.
Key items to verify:
- HTTPS everywhere. A mixed-content warning kills page speed and SEO; use a wildcard Let's Encrypt cert and enforce
Strict-Transport-Securitywithmax-age=31536000. - Canonical tags. Keep the old URL structure? Self-referencing canonicals are fine. Renamed URLs? Add
rel="canonical"pointing to the new location. - XML sitemaps. Generate a fresh
sitemap.xmlafter migration and submit it in Search Console before the switch. - robots.txt. Disallow
/staging/and any dev folders. Never block/assets/unless you're sure they're not needed for rendering. - URL structure decisions. Keep hierarchy shallow (no more than three slashes) and use hyphens, not underscores.
Headless vs monolithic? If you already have Contentful or Sanity, go headless—you get API-first control and can spin a static front-end without touching the old server. If you're on a classic LAMP stack and the redesign is a skin-over, a monolithic approach is quicker but you'll need extra care on .htaccess redirects.
Step-by-Step Implementation: Core Setup
Here's how I get the foundation right, step by step.
1. Create a staging branch
# From your main repo
git checkout -b redesign-staging
git push -u origin redesign-staging
2. Pull content into a headless CMS (example: Contentful)
# Install the CLI
npm i -g contentful-cli

# Export existing content
contentful space export --space-id YOUR_SPACE_ID --export-dir./content-backup

# Import into the new environment
contentful space import --space-id NEW_SPACE_ID --content-file./content-backup/contentful-export.json
3. Set up redirects in.htaccess (Apache) or nginx.conf (NGINX)
Apache example – keep it minimal but cover the common patterns:
# BEGIN Redirection
RewriteEngine On
# Redirect old /blog/* to new /insights/*
RewriteRule ^blog/(.*)$ /insights/$1 [R=301,L]

# Force HTTPS
RewriteCond %{HTTPS}!=on
RewriteRule ^ https://%{HTTP_HOST}%{REQUEST_URI} [L,R=301]
# END Redirection
NGINX equivalent:
server {
 listen 80;
 server_name www.example.com;
 return 301 https://$host$request_uri;
}

server {
 listen 443 ssl;
 server_name www.example.com;

 location /blog/ {
 return 301 $scheme://$host/insights/$uri;
 }
}
4. Install analytics snippets
I prefer the gtag.js approach for GA4, wrapped in a tiny loader that only fires on production.
<script>
if (location.hostname === 'www.example.com') {
 window.dataLayer = window.dataLayer || [];
 function gtag{dataLayer.push(arguments);}
 gtag('js', new Date);
 gtag('config', 'G-XXXXXXXXXX');
}
</script>
Drop the same block into your _app.js (Next.js) or the head of your base HTML template.
5. Generate robots.txt and sitemap.xml
# robots.txt (placed at the web root)
User-agent: *
Allow: /
Disallow: /staging/
Sitemap: https://www.example.com/sitemap.xml
# Simple sitemap.xml generator (Node script)
const fs = require('fs');
const pages = ['/', '/about', '/services', '/contact']; // extend dynamically
const urls = pages.map(p => ` https://www.example.com${p} ${new Date.toISOString.split('T')[0]}
${urls}
`;
fs.writeFileSync('public/sitemap.xml', xml);
Run the script, commit the generated sitemap.xml, and you're ready to submit.
Advanced Configuration & Performance Tuning
Performance is the silent SEO factor. If your pages load slower than 2 seconds, Google demotes you and users bounce.
Enable HTTP/2 (or HTTP/3)
Most CDNs turn this on automatically, but on a bare-metal server you need to add it to your TLS config. For NGINX:
listen 443 ssl http2;
ssl_protocols TLSv1.2 TLSv1.3;
Cache-Control headers
Static assets should be cached aggressively. In Apache you can add:
<IfModule mod_expires.c>
 ExpiresActive On
 ExpiresByType image/webp "access plus 1 year"
 ExpiresByType text/css "access plus 1 month"
 ExpiresByType application/javascript "access plus 1 month"
</IfModule>
For dynamic HTML, use Cache-Control: no-cache, must-revalidate so the CDN always checks the origin for fresh content.
Lazy-load scripts & images
Next.js ships with next/image which handles lazy loading out of the box. If you're on Vite, install vite-plugin-lazy-load:
// vite.config.js
import { defineConfig } from 'vite';
import lazyLoad from 'vite-plugin-lazy-load';

export default defineConfig({
 plugins: [lazyLoad],
});
Set up a CDN
I usually point assets.example.com to Cloudflare. The DNS entry is a CNAME to example.com.cdn.cloudflare.net. Then enable "Automatic Platform Optimization" for WordPress or "Cache Everything" for static sites.
Vite/Next.js performance plugin example
// next.config.js
module.exports = {
 reactStrictMode: true,
 images: {
 domains: ['cdn.example.com'],
 },
 webpack: (config, { dev }) => {
 if (!dev) {
 const Compressi
 config.plugins.push(new CompressionPlugin({
 test: /\.(js|css|html|svg)$/,
 threshold: 10240,
 minRatio: 0.8,
 }));
 }
 return config;
 },
};
Lighthouse CI snippet
Run this in your CI pipeline to catch regressions before they ship:
#.lighthouserc.js
module.exports = {
 ci: {
 collect: {
 url: ['https://staging.example.com'],
 numberOfRuns: 3,
 },
 assert: {
 preset: 'lighthouse:recommended',
 assertions: {
 performance: ['error', { minScore: 0.9 }],
 accessibility: ['error', { minScore: 0.95 }],
 },
 },
 upload: {
 target: 'temporary-public-storage',
 },
 },
};
Integrate with GitHub Actions:
name: Lighthouse CI
on: [push, pull_request]
jobs:
 lhci:
 runs-on: ubuntu-latest
 steps:
 - uses: actions/checkout@v3
 - name: Install deps
 run: npm ci
 - name: Run LHCI
 run: npx lhci autorun
When the CI fails, you know exactly which metric slipped and can fix it before the final merge. That's the kind of safety net that turns a "launch day panic" into a routine push.
Critical Production Pitfalls & Diagnostic Gotchas
Even with a perfect pre-launch checklist, things slip through. Here are the five most common post-launch nightmares and how to sniff them out.
- Missing
meta robotstags – A fresh template can drop thenoindex/nofollowyou relied on for staging. Open Chrome DevTools, hit Ctrl+Shift+I, go to Elements and searchmeta name='robots'. If it's missing on a page that should stay hidden, Google will crawl it and your crawl budget takes a hit. - Broken JSON-LD – Structured data is fragile; a stray comma or wrong
@typeflips a valid snippet into a "Parsing error". Run Screaming Frog's Structured Data report, watch for the red "Error" flag. In Search Console head to Enhancements → Structured Data → Error to see every URL that failed. - Duplicate content – New URL patterns, pagination, or missing canonicals spawn twins. In GSC open the Coverage report, filter "Duplicate, submitted URL not selected as canonical". Screaming Frog will also highlight identical
titleormeta descriptionvalues. - 404 spikes – Forget a redirect map and you bleed link equity. In Search Console's Coverage → Not found (404) watch the "Increase" column. A sudden jump of a few hundred in a day? Fire up Chrome's
Networktab, reload the home page, scroll down – the 404s flash red. - Analytics gaps – A missing GA4 measurement ID or a mis-configured cross-domain setup leaves you blind. Search the page source for
gtag('config'and confirm the ID matches the property. Then swing by GA4 → Realtime; if nothing shows after a couple of minutes, you've got a gap.
Spotting these early saves you from a post-launch panic. Run the three tools side-by-side for the first 48 hours and you'll catch most of them before users notice.
Comparison & Decision Matrix
Choosing how to rebuild a site isn't just a budget talk. It's an SEO risk assessment, a content migration puzzle, and a QA time calculator rolled into one. Below is a skeleton you can paste into your internal wiki and fill with your own estimates.
| Approach | Effort (person-days) | SEO risk | Content migration complexity | QA time |
|---|---|---|---|---|
| Full rebuild | 45-60 | High – new URL structure, new templates | High – bulk import, custom fields | 2-3 weeks intensive |
| Incremental migration | 30-40 | Medium – pages go live one-by-one, can preserve old URLs | Medium – staged content pushes | 1-2 weeks staggered |
| Theme swap | 15-25 | Low – same CMS, same URLs | Low – only styling changes | 1 week focused |
Plug in your team's velocity and you'll see why many product owners favor an incremental migration: you keep rankings while you iterate. If you can afford a short "black-out" window, a full rebuild gives you a clean slate.
FAQ – High-Intent Technical Questions
How do I preserve link equity when I change URLs?
Map every old URL to its new counterpart and set up a 301 redirect. Use a CSV import in your server or CDN – Netlify redirects, Apache RedirectMatch, Cloudflare page rules all work. Test the map with Screaming Frog's Redirects report; it will flag loops or missing destinations. Remember to update internal links as you go – a dangling 301 on an internal anchor still eats crawl budget.
When should I use a 301 vs a 302 redirect?
301 for permanent moves; you want search engines to transfer ranking signals. 302 only when the change is truly temporary – a seasonal campaign that will revert. A 302 tells Google "don't pass authority". If you're unsure, default to 301; you can always flip it later.
Can I keep the old GA4 property after a redesign?
Yes, but keep the measurement ID unchanged on every page. Creating a brand-new property wipes out historical data. Instead, add the new tags alongside the old ones, run both in parallel for a week, then retire the legacy tag. Verify in GA4's DebugView that hits arrive from the new pages.
How do I test structured data before launch?
Run the pages through Google's Rich Results Test or the Structured Data Testing Tool. Automate it with Screaming Frog: enable "Schema.org" extraction, crawl the staging environment, export any "Error" rows. Fix locally, re-run until the tool reports "Valid".
What's the best way to verify that my canonical tags are correct?
Open Chrome DevTools, go to the Elements panel, search for rel="canonical". The href should match the URL you intend to rank. In Screaming Frog enable the "Canonical" column – mismatches pop up in red. Finally, in Search Console's Coverage → Duplicate, submitted URL not selected as canonical you'll see any pages Google disagrees with.
Operational Verification Checklist & Next Steps
Print this, stick it on the wall, and run a final sign-off meeting. Assign owners, set deadlines, and track issues in your ticket system.
| Area | Task | Owner | Due |
|---|---|---|---|
| SEO | Confirm all meta robots tags present |
SEO Lead | Day 0 |
| SEO | Validate 301 redirect map | Dev Ops | Day 0 |
| Content | Run Screaming Frog content audit (titles, descriptions, H1s) | Content Manager | Day 0 |
| Analytics | Check GA4 measurement ID on every template | Analytics Engineer | Day 0 |
| QA | Spot-check structured data with Rich Results Test | QA Lead | Day 0 |
| Monitoring | Set up 7-day post-launch watch (404s, traffic dip, core-web-vitals) | Product Owner | Day 1-7 |
If anything flags during the first week, open a ticket and route it to the owner above. Report blockers via our contact page. After the 7-day window, do a brief retrospective, capture lessons, and close the loop. That's it – you've turned a chaotic launch into a controlled, measurable event.